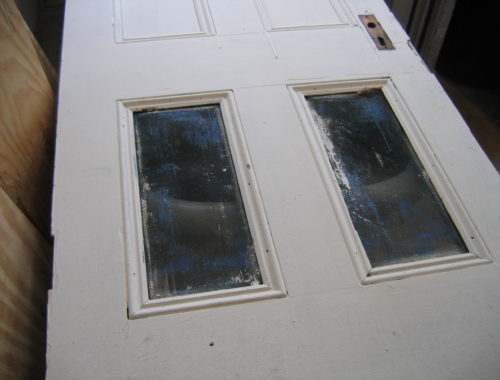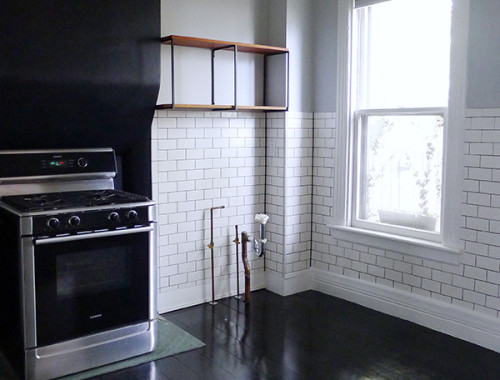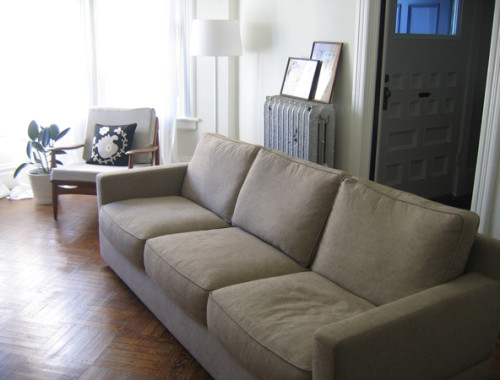
When we’re not busy capturing stray animals, we’ve been staying occupied with our vestibule tiling project.
Evan did all of the demolition work, thankfully. I am terrible at demo—I’m not very strong, and I get overheated easily. (Okay, and I hate wearing goggles and face masks.) Once he had a system down (namely chiseling out the grout first, rather than just banging away on the tiles with a sledgehammer like they do on TV), the actual tile removal went more quickly than we thought it would.

The thinset underneath the tile was a different story, though. Evan spent hours upon hours over the course of two days scraping and chiseling and sweating in order to get it all off. Putting cement board over the thinset and tiling on top wasn’t an option, because we can’t put any additional height on the floor. The step/threshold at the front door is a huge hunk of slate, and it would be very sad to have it not line up right with the edge of the tile.

95% complete. You can see the grid lines pressed into the concrete from the original 1880s floor tile (long gone, sadly). This photo doesn’t show it well, but the concrete actually shows the relief of the logo embossed on the backs of the original tiles—American Encaustic Tiling Company. Neat, huh?
Next up . . . THE TILE!


21 Comments
that’s a shame they removed the old tiles. Even in run down apartment buildings in the Bronx I see the original mosaic tile that is still in tact and not budging. It holds up extremely well.
@Cherry: We’ve found some of the original tile in pieces here and there around the garden, so it’s possible that it was just very heavily damaged. It’s never been removed from the house next to ours (identical house — at least in theory!), but it’s in REALLY bad shape. It’s not mosaic tile, it’s encaustic/dust-pressed cement squares. Very little original detail in our house has been removed, fortunately!
I recently found some advertising for the Heights Neighborhood when it was founded in 1891. All the houses were beautiful. It’s really interesting to see the details of little to no trees and dirt paved roads.
I like the tiles you choose, they will look very nice, and the basket weave pattern is keeping within the period .
Definitely will brighten up the vestibule .
What I love most about your house (and blog, for that matter) is that every room, every project, seems so thoughtful and intentional. I admire that in you (true, a perceived quality since I don’t actually know you) and wish I could be just little less…spastic and impetuous when it comes to projects around the house.
Inspiring as always, Anna! 🙂
Sigh. Typos. I hate them.
Wow, that’s really cool. I love it when you find history in spaces you wouldn’t expect to. Like Jules, I am also spastic and impetuous, but not just for projects around the house. I wish I could be a little more patient and impulsive in general.
whoops. More patient and less impulsive!
It looks like your tile was cementing directly to the slab for your home, but on second floors or houses with basements/crawlspaces the tile is generally cememented to wooden boards and you can pry up the board (and whole sections of tile with it) and save yourself from busting up all of the tile individually. Hope that’s the case for you all next time! Good luck and you all deserve a good night’s rest! 🙂
@Erin: This isn’t the slab/foundation (we have a full basement), but it was poured directly on top of the subfloor/sub-subfloor. It’s pretty thick, and it continues under the baseboard moldings. Removing the concrete would have been far more destructive than scraping off the thinset. In general, we try to do as little material removal as possible in our house.
ah! I love a good demo! This looks like it it going well, I bet the heat is killer though! I can not wait to see the results!
Yay! The hard part is over. I wish my husband and I would tackle our re-tiling project like y’all have. The new tile is going to be magnificent!
Can’t wait to see the results! Dumb question– how do you protect the baseboards from getting damaged when you remove the tile? Thanks!
please post process shots of the tiling…i’m about to embark on a similar project!
You might be able to reproduce the originals through American Restoration Tile in Arkansas. They have no minimum and prices are pretty reasonable for small amounts. As I recall, orders take about five weeks. More info on their web site. (i have no affiliation with them.)
@PhillyLass: We didn’t do anything to protect them. I would have had to repaint regardless, so I didn’t worry about it.
@brian: I don’t really take process photos of projects that are labor-intensive, but there will be finished photos next week.
@mopar: We’ve already bought/laid new tile — we’re not interested in trying to recreate the original ones. (Which weren’t particularly nice, honestly!!)
it would be cool to track down some old tile from that same company!
Hi Anna,
silly question, but how long did it take to remove the old tile? Do you know of any tips/tricks to make this process go faster? Any special tools?
Thanks 🙂
@Nat: It’s really impossible to answer that question, because it depends so much on the type of substrate involved, the grout, the adhesive underneath, and even the size of the tile. Here’s an article at TOH that you might find helpful! 🙂
Why didn´t you rent a demolition hammer from home depot? I am doing the same project and i am 70% done in 3 hours.
It was too small and delicate an area. There was too much we had to be careful to avoid damaging, including the cement underlayment.