
Before I even begin this post, let me offer a disclaimer: THIS IS NOT A GUIDE TO RESTORING STEEL CASEMENT WINDOWS. It is merely a documentation of my repainting of the inside of the window in my kitchen. The photos look like they were taken with a flip phone, for some reason, and any information conveyed will likely be only minimally useful to anyone needing advice on fully restoring their own steel casement windows. That said, at some point in the future, I will write a more comprehensive post on steel casement window restoration. And I’ll take pictures with an actual camera. I’ll even clean the lens first!
I have done a few posts over the years about repairing and restoring old windows, but until now, those windows had all been wood sash windows. One of the things I love the most about this house are the original steel casements. By my estimate, only about 25% of the houses in my neighborhood (which was all developed by the same builder, Allen Stamm) still have their original windows, which is a real shame. I’m not sure if people decide to rip out the casements for aesthetic reasons or because they think they’re drafty (or maybe just because they think that’s what you’re supposed to do when you renovate a house), but compared to wood windows, steel casement windows are REALLY EASY to maintain and refurbish.
That said, over the course of two years, I have only done this “really easy” refurbishment on one window. One. And only the inside, because the outside is…complicated.
(Briefly: At some point, probably in the 1960s—a decade rife with bad renovation decisions—someone decided to use 90,000,000,000 rivets and some sort of adhesive to permanently attach storm windows to the outside of each section of the casements, making it impossible to maintain the glazing or repaint the windows. They also look terrible, and they do virtually nothing to increase the R-value of the windows because they only cover the glass and not where the frame and sash meet, which is where cold air comes in. Also, did I mention they make it impossible to maintain the glazing? And that they were installed without any weep holes, so they trap moisture every time it rains? I hate the storm windows, and at some point I’m going to have to start experimenting with methods for removing the 90,000,000,000 rivets. But I digress.)
November 2019
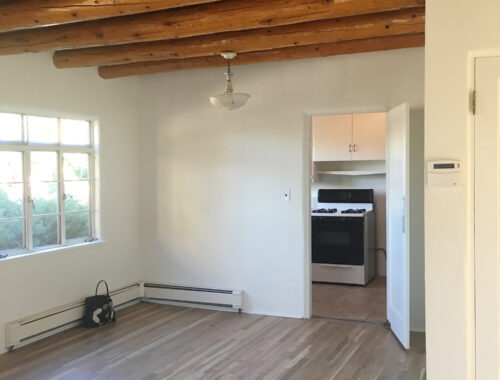
Anyway, let’s hear it for the ONE WINDOW I have actually taken the time to repaint on the inside!! Conveniently, it’s in the kitchen, so it’s part of this whole series of kitchen renovation posts. In fact, the thing that propelled me to actually take the time to paint the window was knowing that pristine white countertops were about to be installed directly beneath it, and did I really want to be using black oil paint in such close proximity to those countertops? No, I did not. Plus, doing it beforehand meant I could stand inside of the sinkless/countertopless cabinets while I worked, which made the whole thing much easier.
The most notable immediate difference between working on a steel casement window and a wood sash window is that you can’t really remove the former from the framing like you can with the latter. In other words, everything you do with it really needs to happen while it’s in place. Unless you’re a pro like Seekircher Steel Window, but then you’re operating on a whole other level and not just a regular DIY person like me. (By the way, if you love steel windows as much as I do, follow Seekircher on Instagram. Their work is awe-inspiring.) So the weather needs to be compatible, and you need to be prepared to leave the window open at least a little bit for a few days while stuff dries. Early November was pretty much the latest I could get away with doing this.
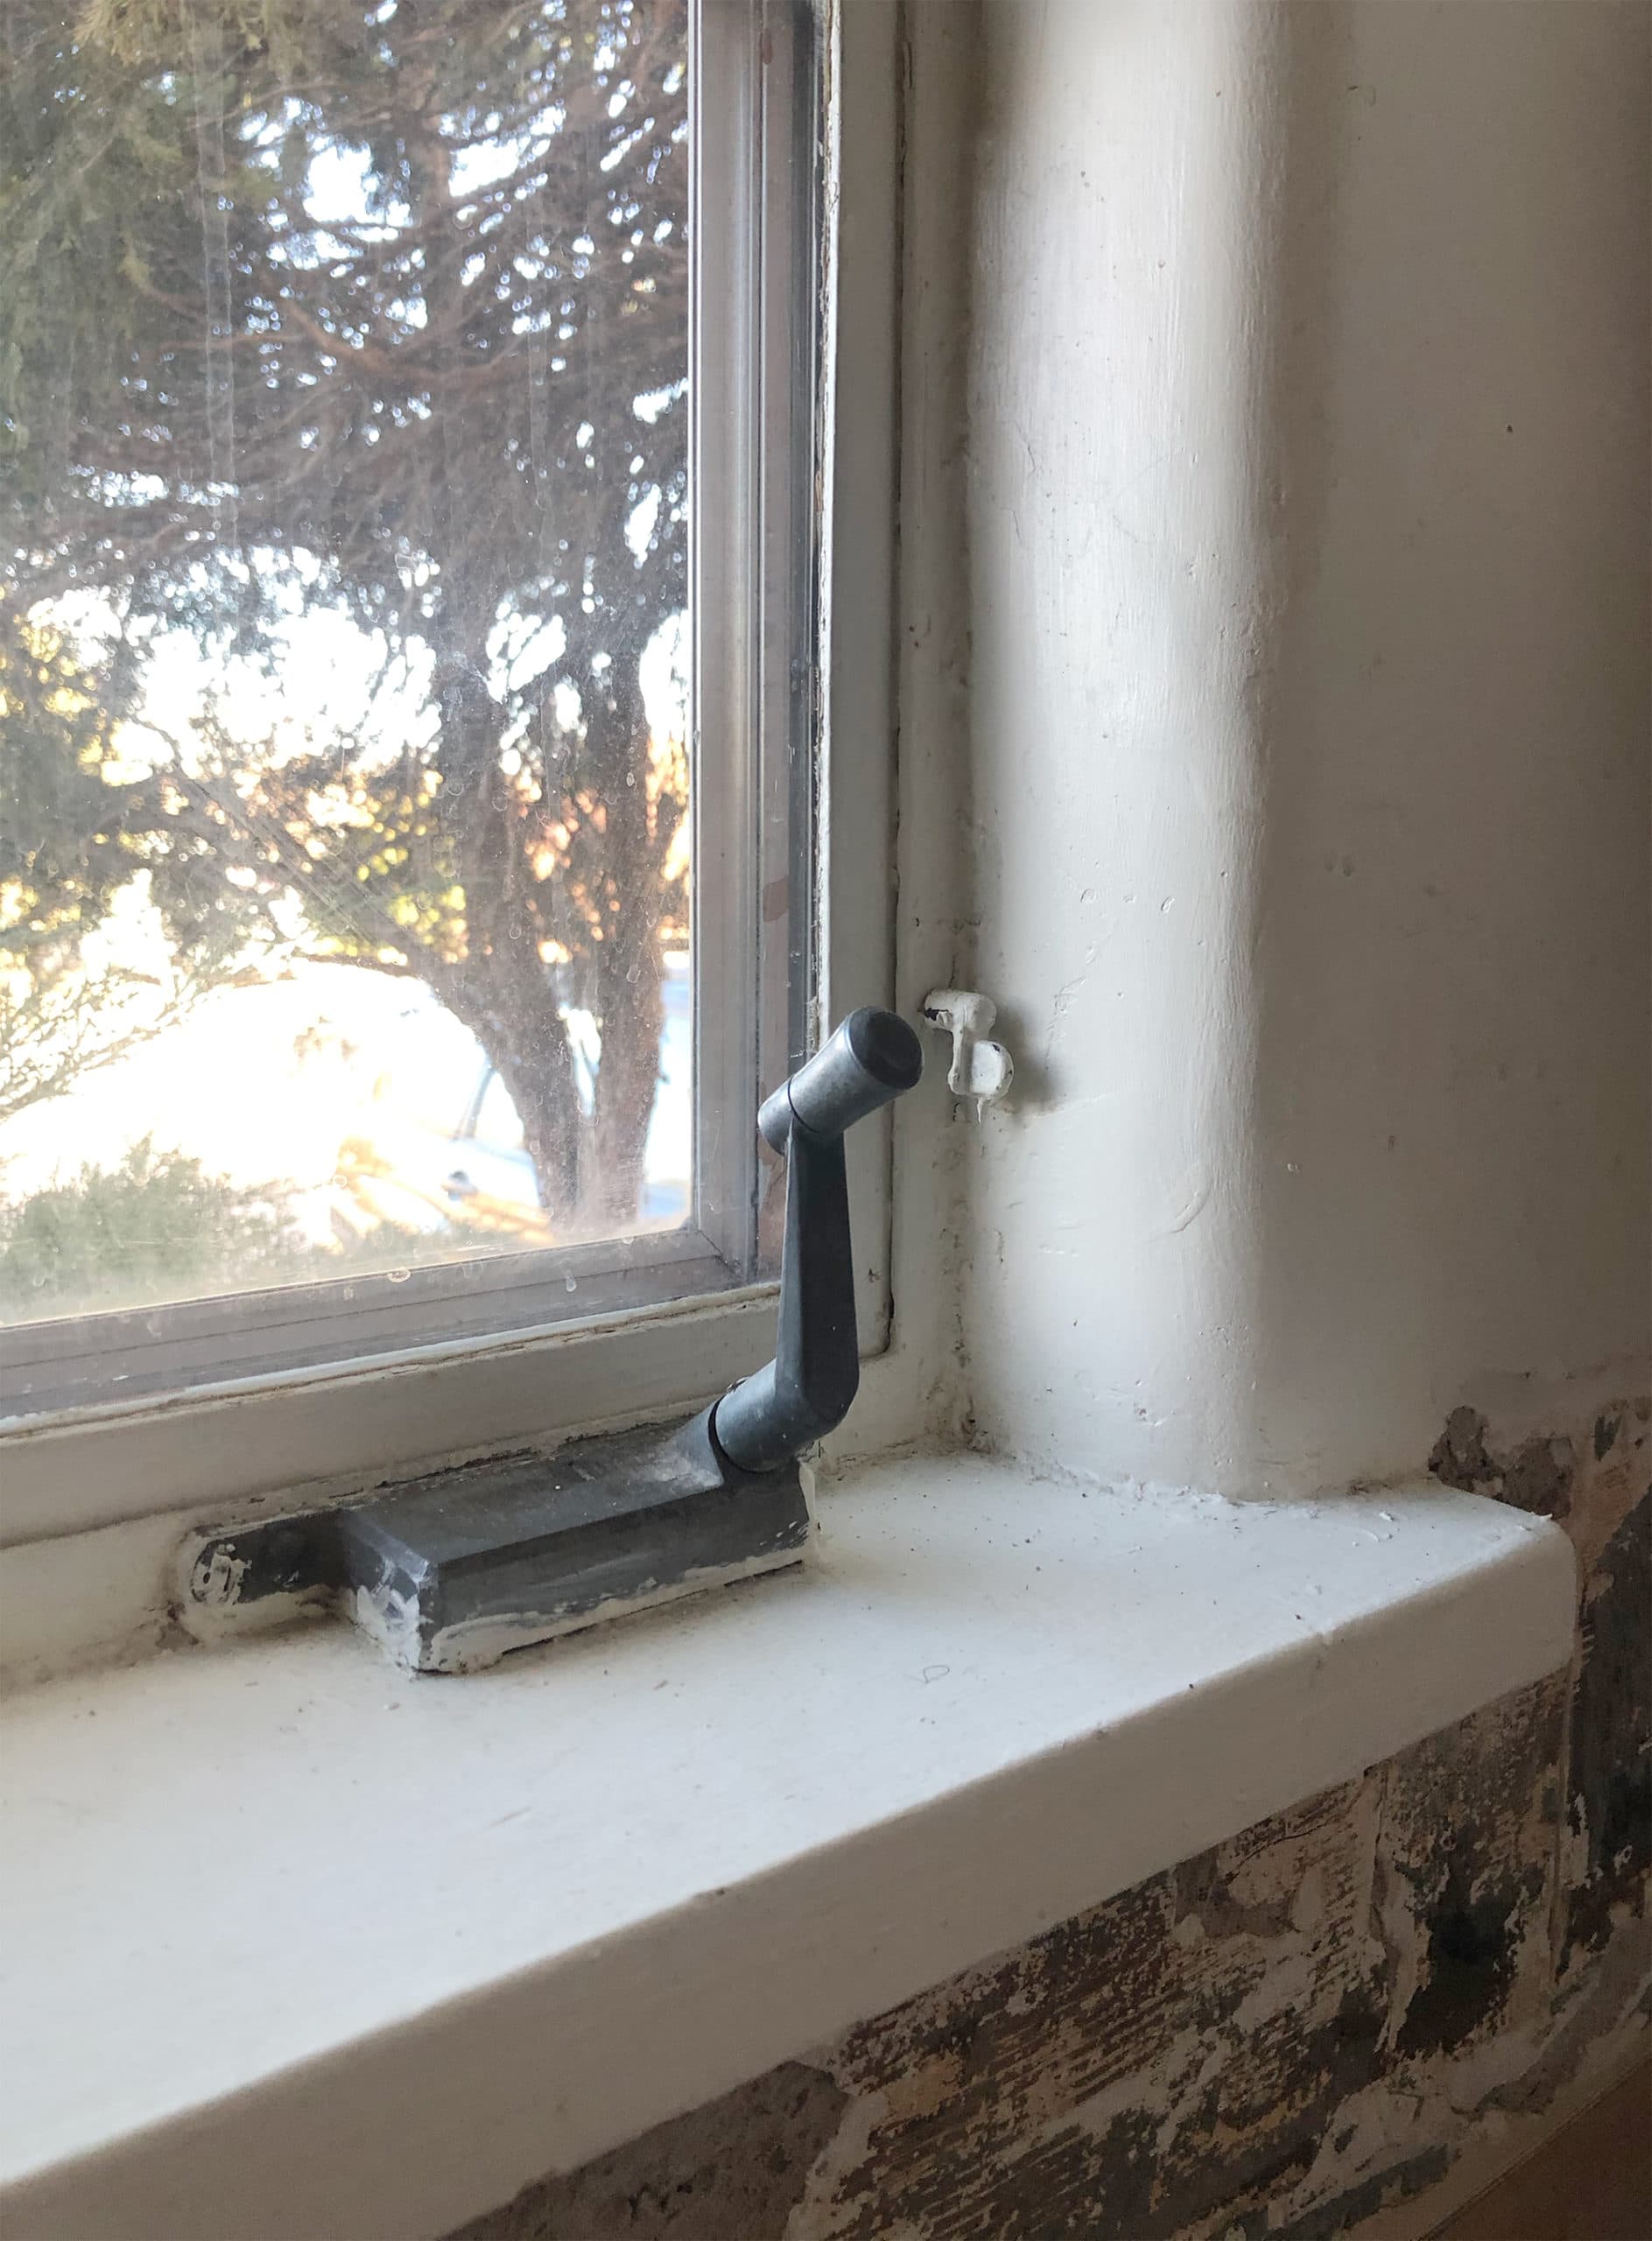
After removing the window locks, I scraped any the lumpy, loose, or peeling paint from the steel, and dug out all of the old caulking from around the window frame. The previous paint job was done really quickly and sloppily, with flat paint—probably at the same time the walls were painted to get the house ready for sale. Surprisingly, there seemed to only be one coat of paint under that. I’m not sure if the windows were originally bare steel, because there was no paint at all under the locks. That seems unlikely, but I really couldn’t find any evidence of the original paint color.
Then it was sandpaper time! I used my trusty little Black + Decker Mouse sander, naturally. By the way, you’re only going to buy one power sander, that’s the one to get. I use it ALL the time. You don’t need to get the pricey Black + Decker brand sandpaper, either—you can buy compatible sandpaper multipacks for a fraction of the price, and they fit just fine. Now you know!
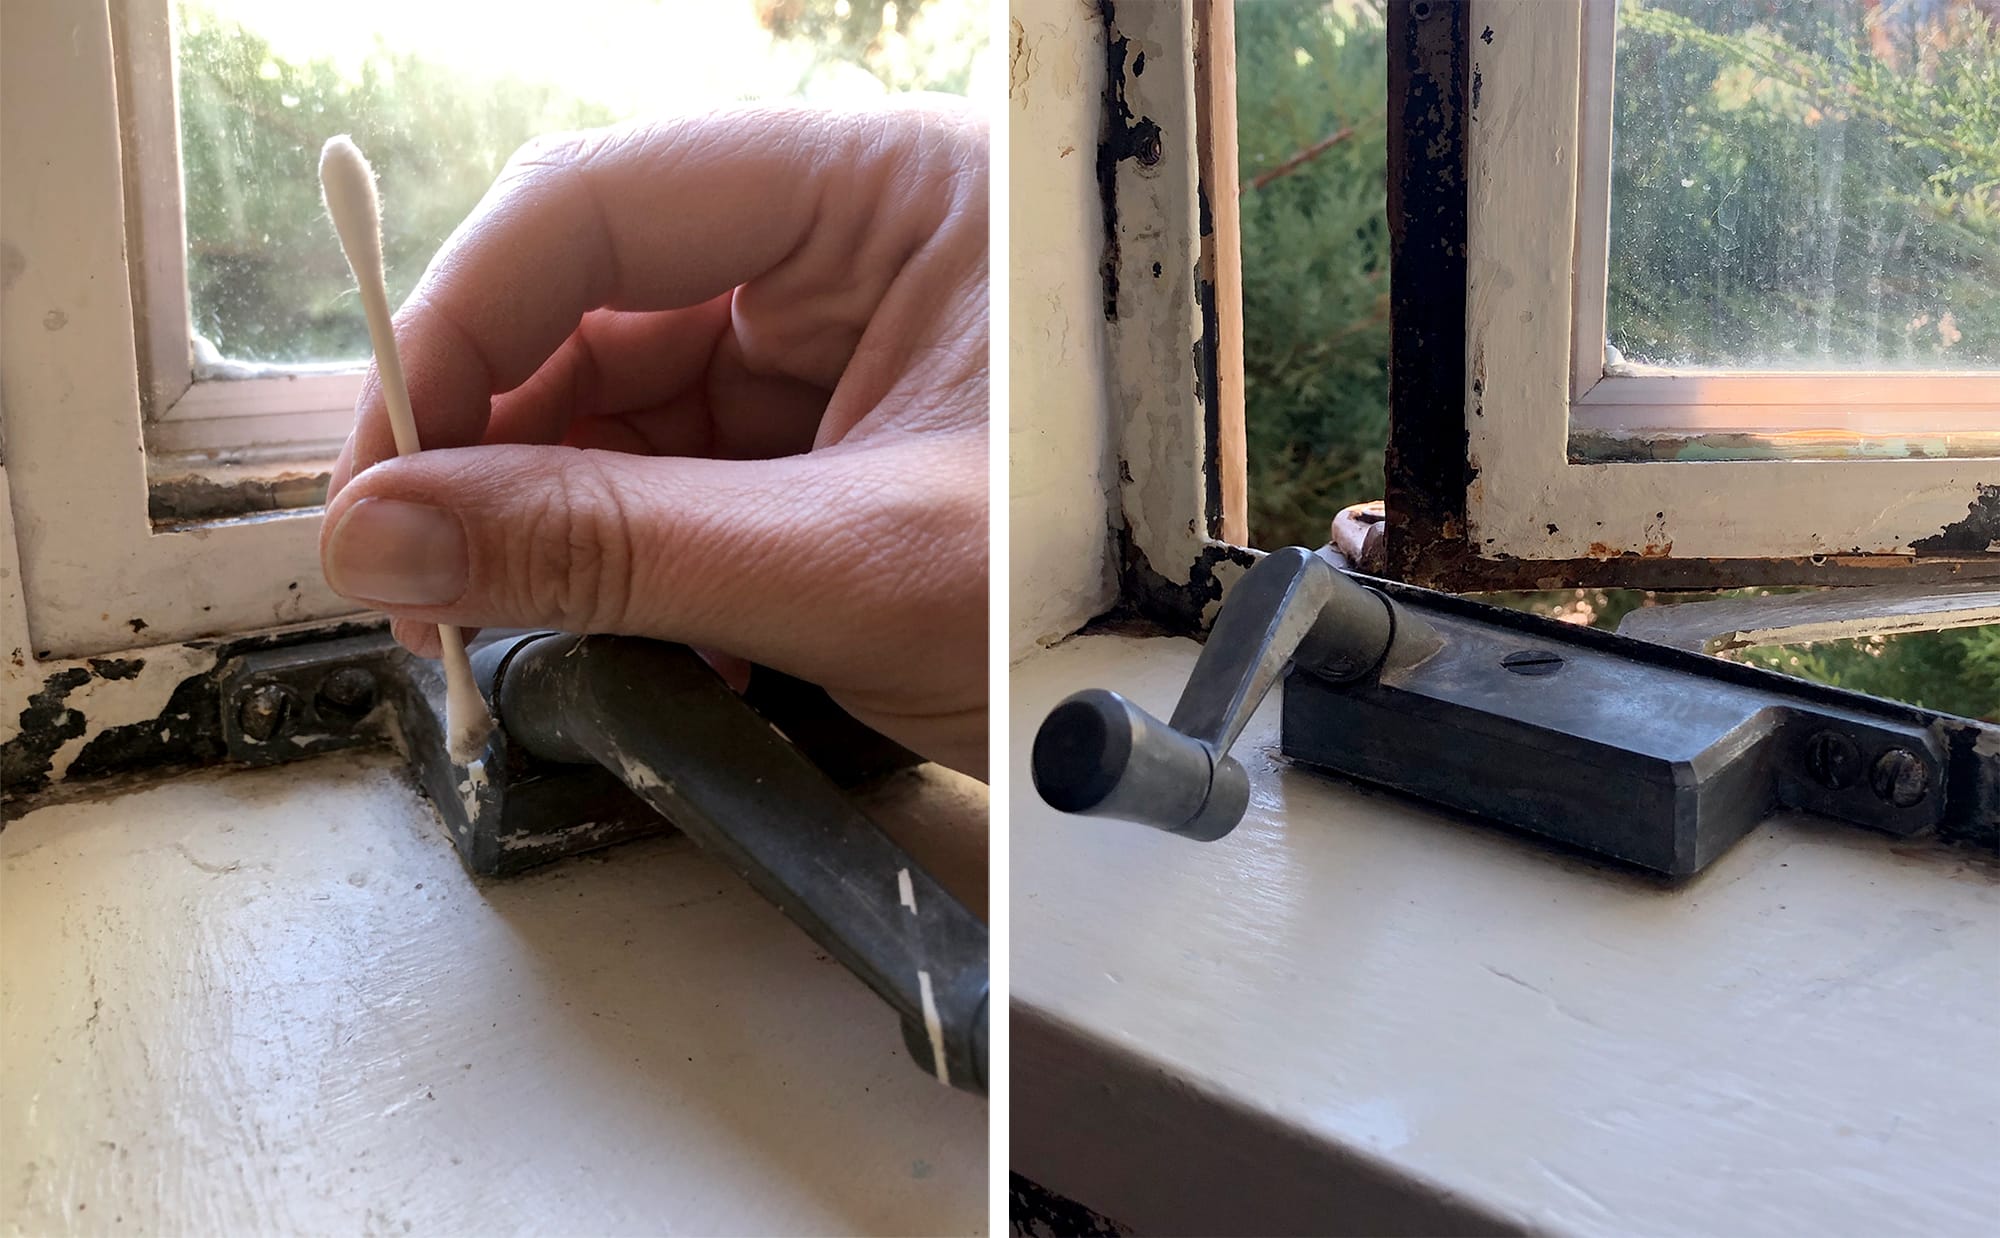
After sanding, I got to work on the hardware. The crank mechanisms were a little tricky, because removing them means having to also remove the operator, and the ankle bone’s connected to the shin bone, the shin’s bone connected to the knee bone, and so on. Unless you’re prepared to really take the window apart (something you’d probably only want to do if you needed to repair or replace the operator itself), it’s better to just leave the crank mechanism in place. So I did what any pro would do in this situation, and spent a couple of hours removing the paint with Q-tips and nail polish remover. Hey, whatever works.
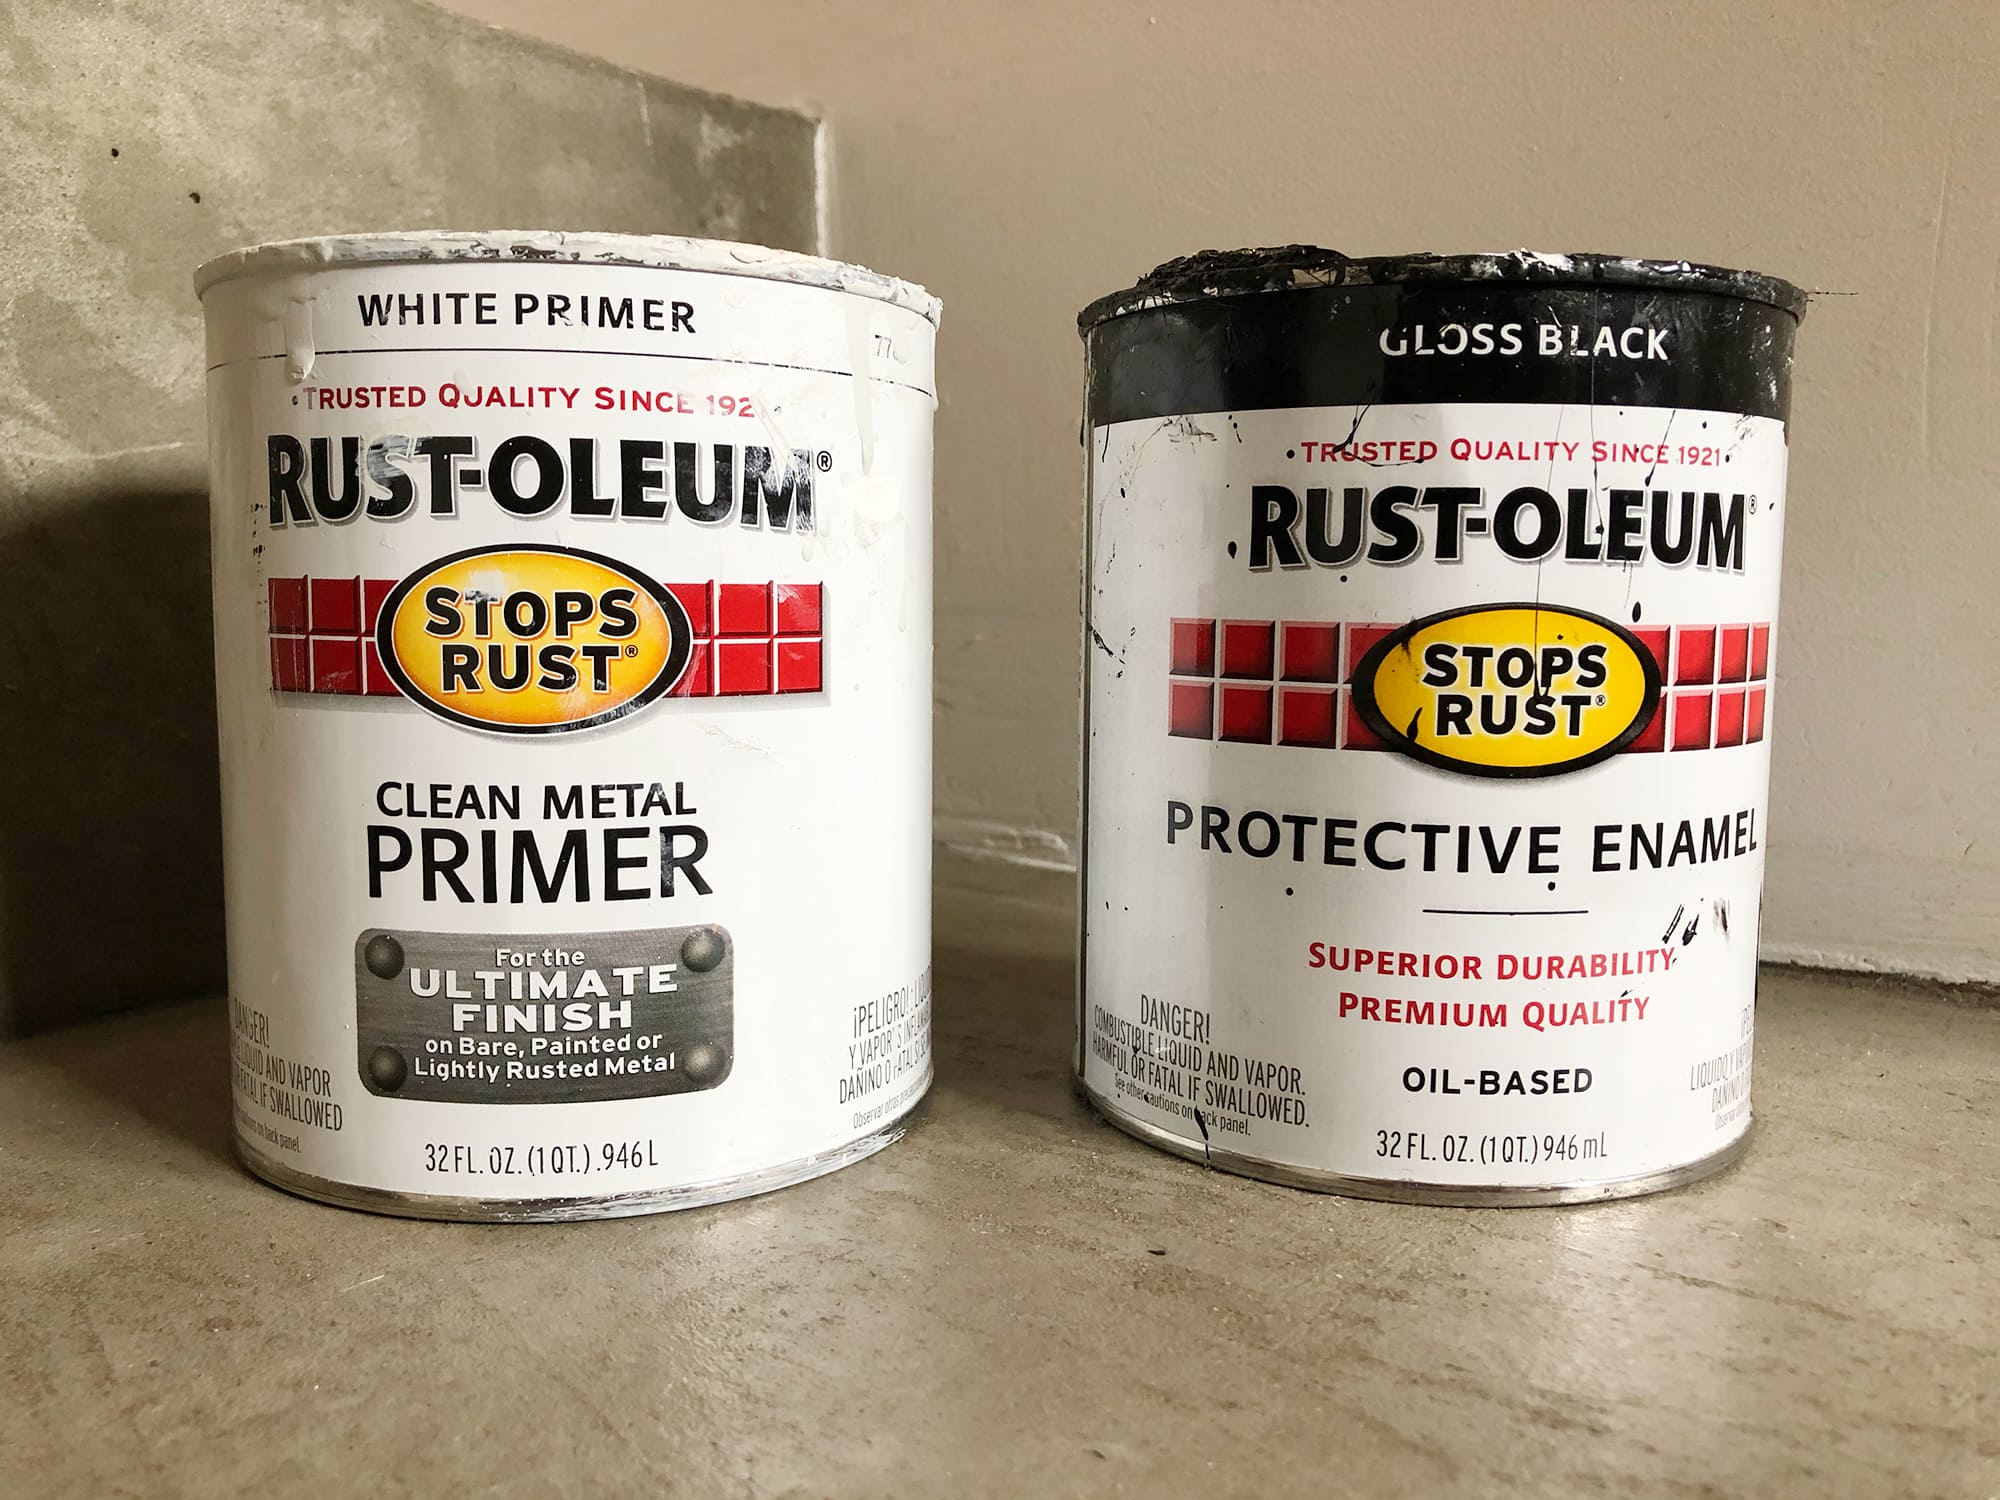
Once the whole window had been thoroughly cleaned with TSP substitute and re-caulked around the perimeter, it was ready to paint. This isn’t a secret if you’ve been reading this blog for a long time, but I love Rust-Oleum products (and no, they’ve never paid me to say that). I’ve been using them for years and years, and they’ve never done me wrong. I did a priming coat with their Clean Metal primer (they make a Rusty Metal primer, too, which is what I’ll use when I paint the window exteriors) and let that dry for 24 hours with the windows slightly cracked open. The next day I did a coat of Rust-Oleum Protective Enamel in gloss black, let it dry overnight, and then gave it a final coat on day three. So: One coat of primer, two coats of paint. 24 hours of drying time between coats. Oil paint is time-consuming, yes, but it’s the only thing I’d use to paint a steel window—especially one with rust. Realistically, this paint job should last for many, many years, with only minimal touch-ups needed.
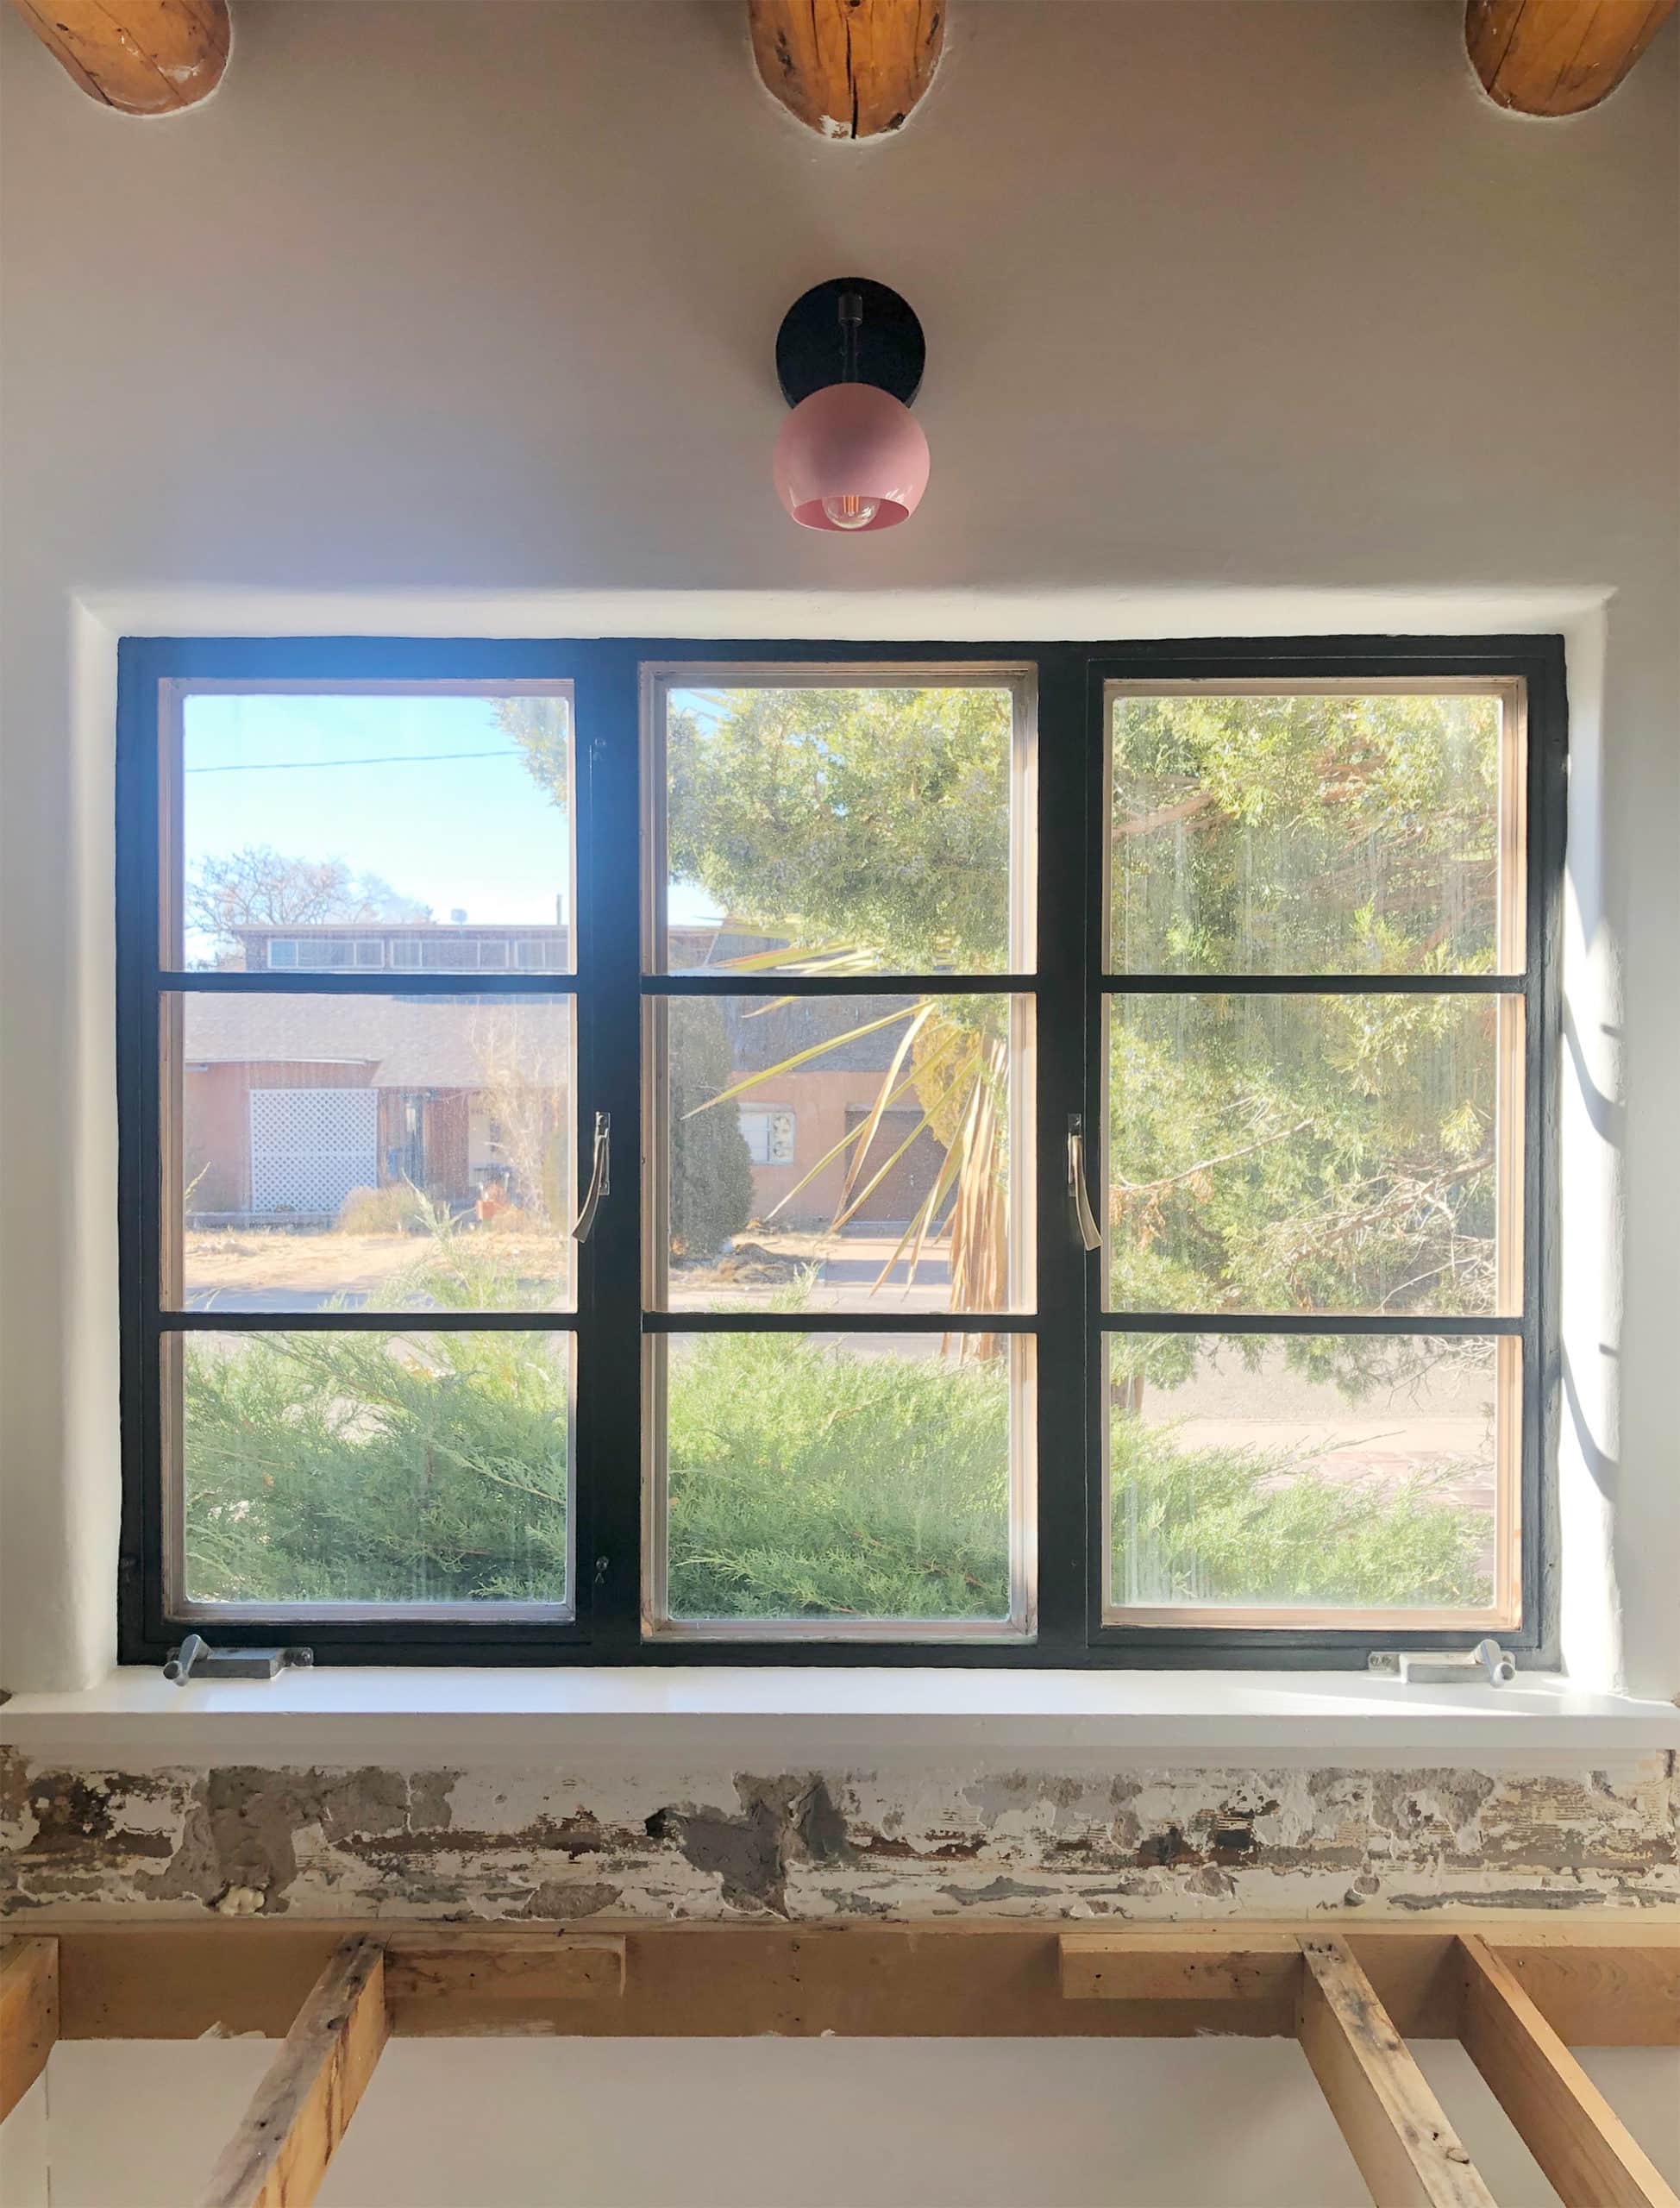
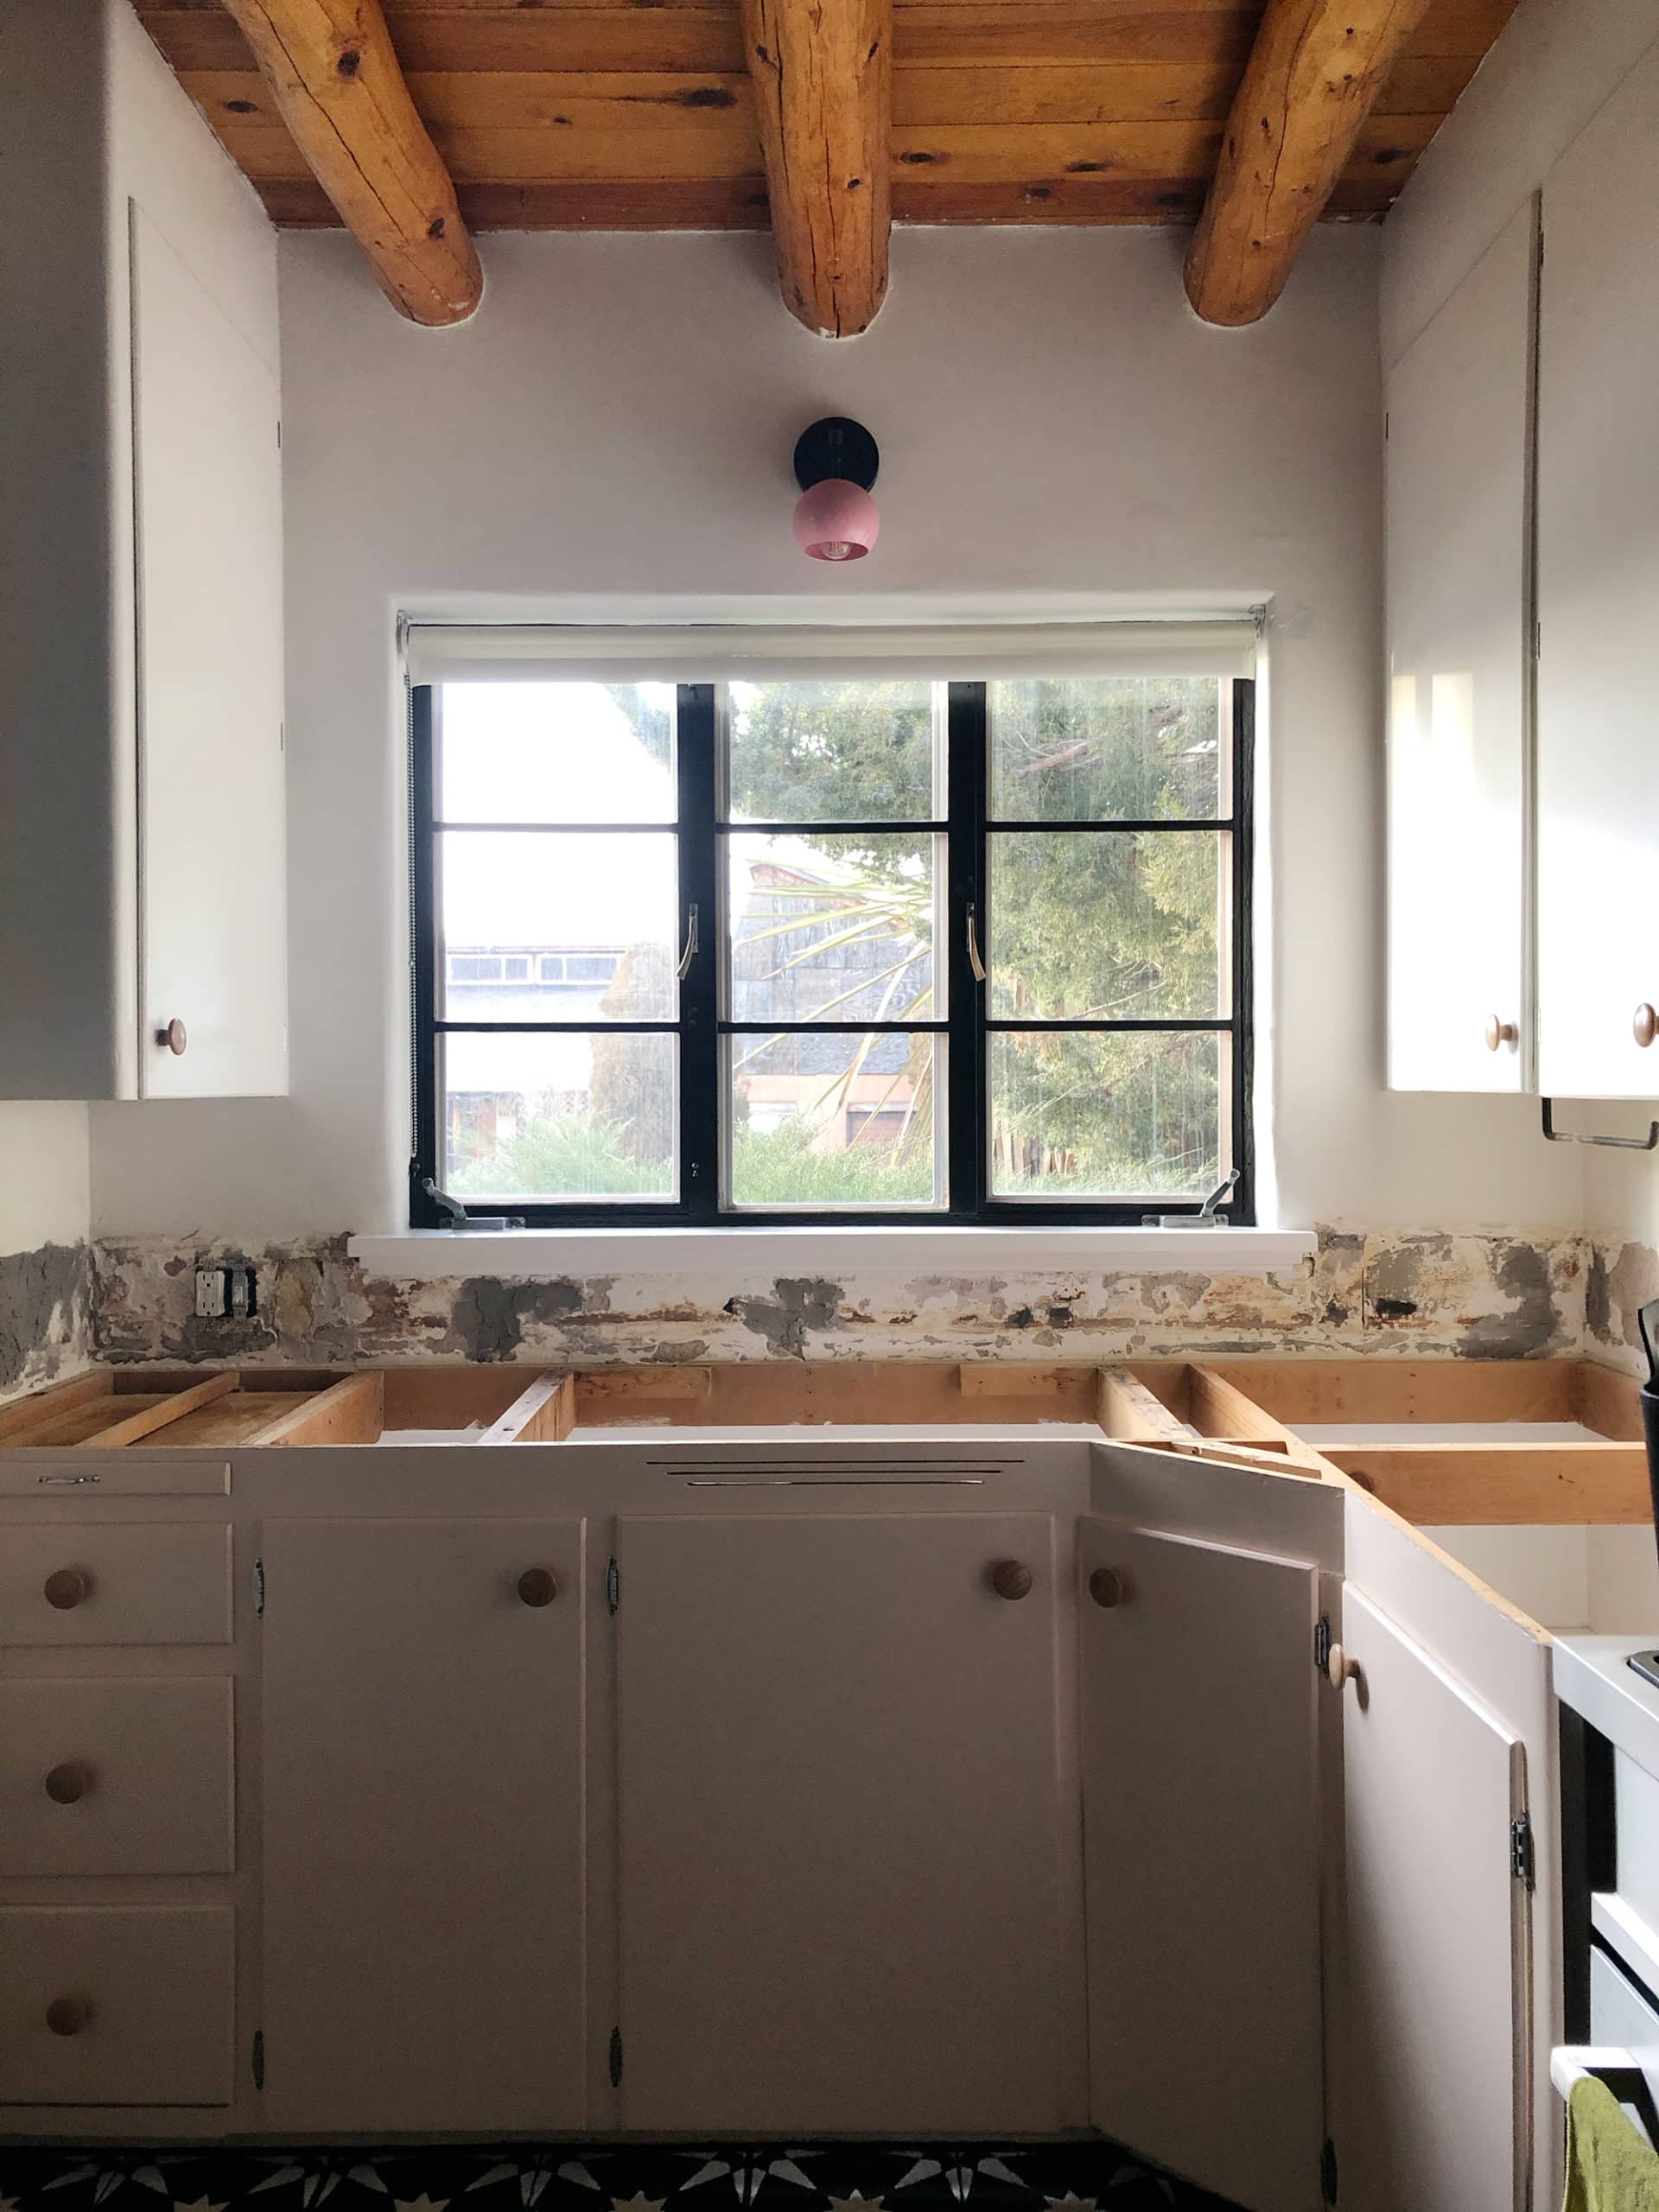
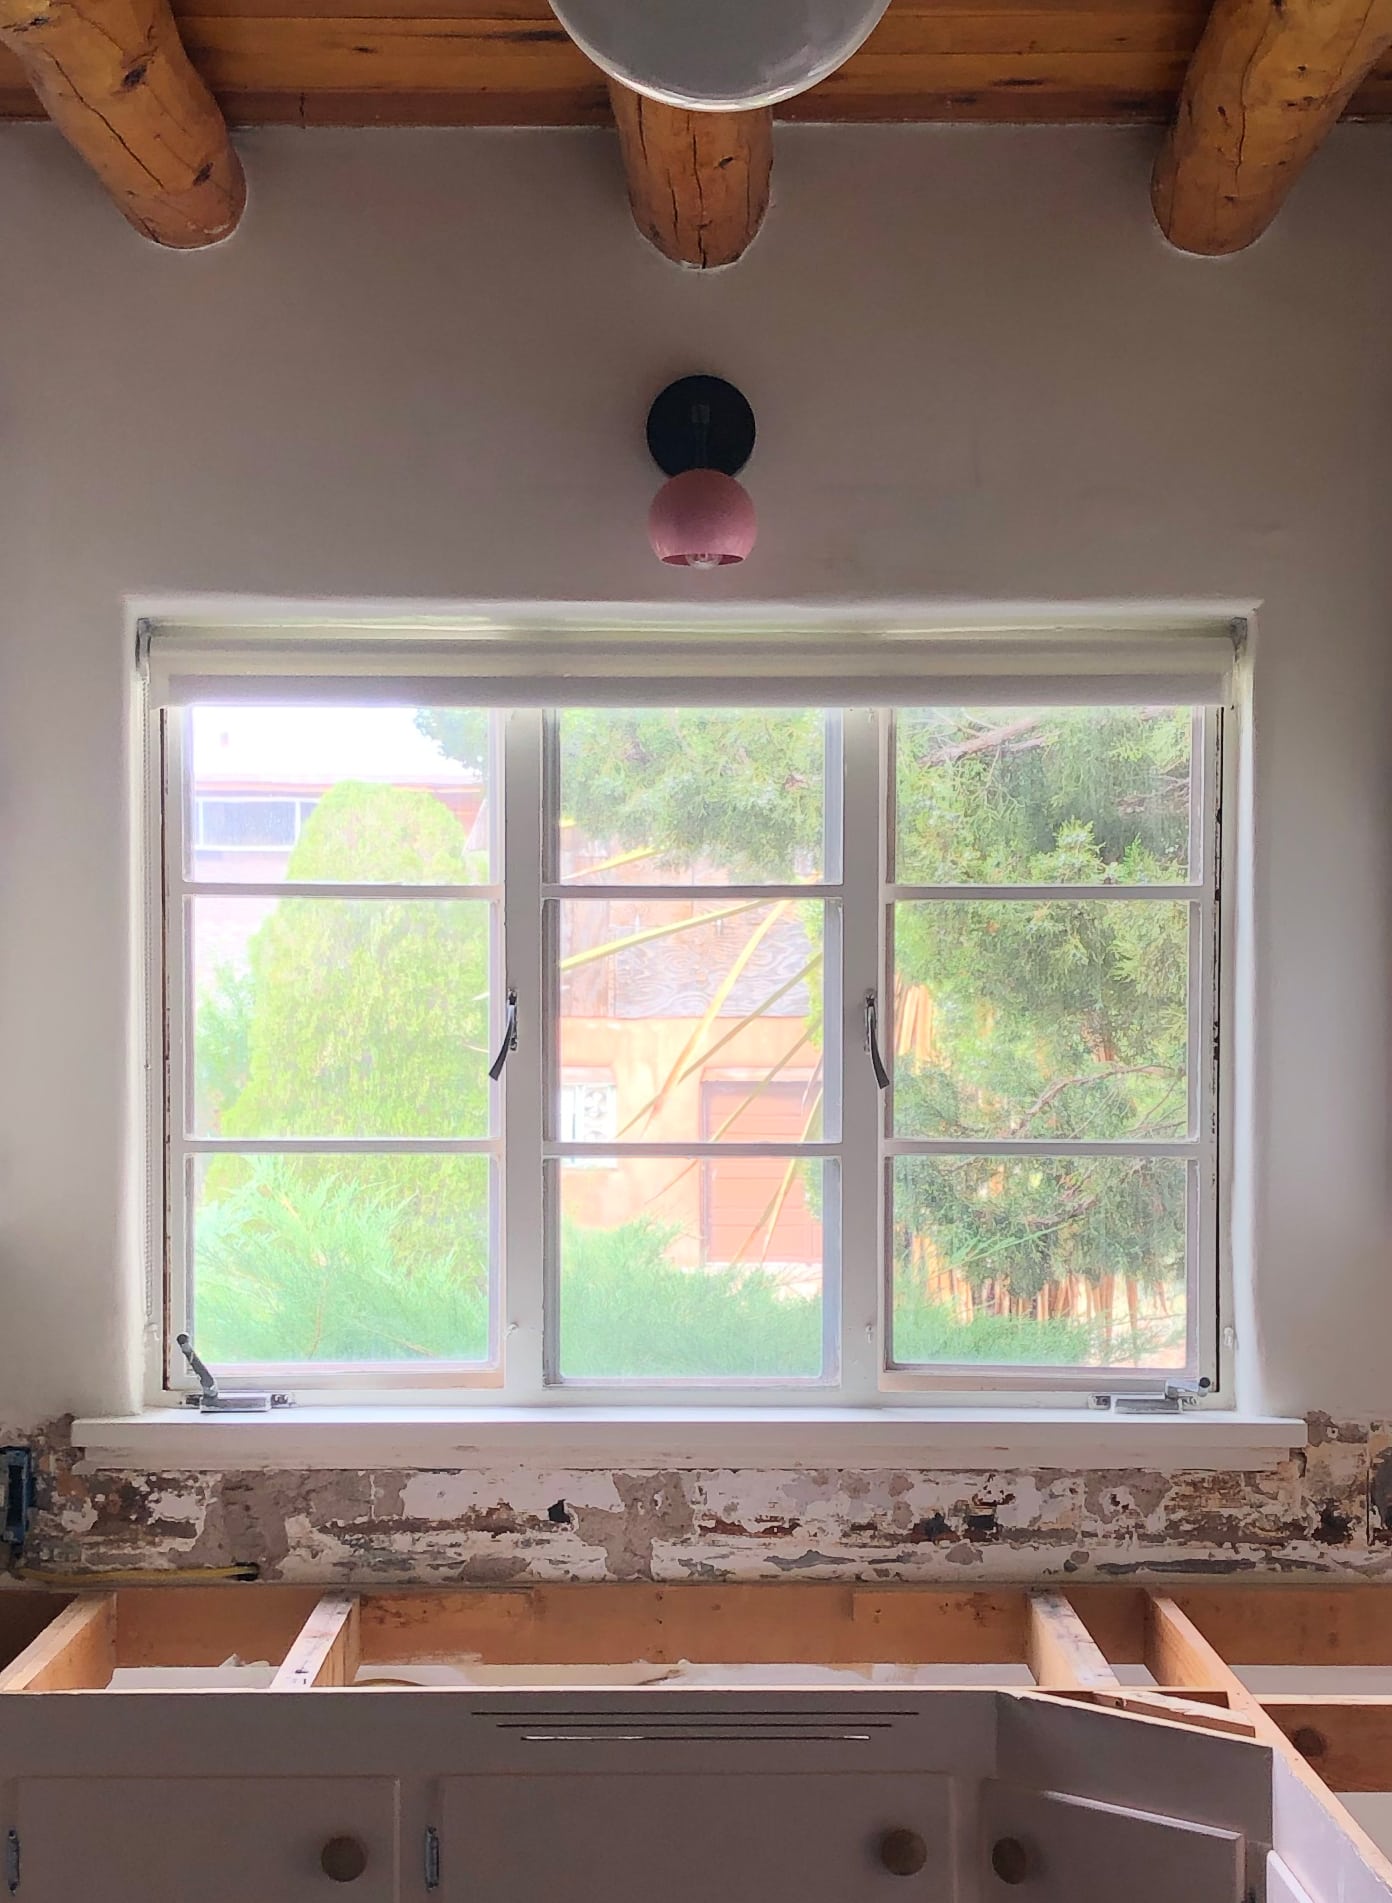
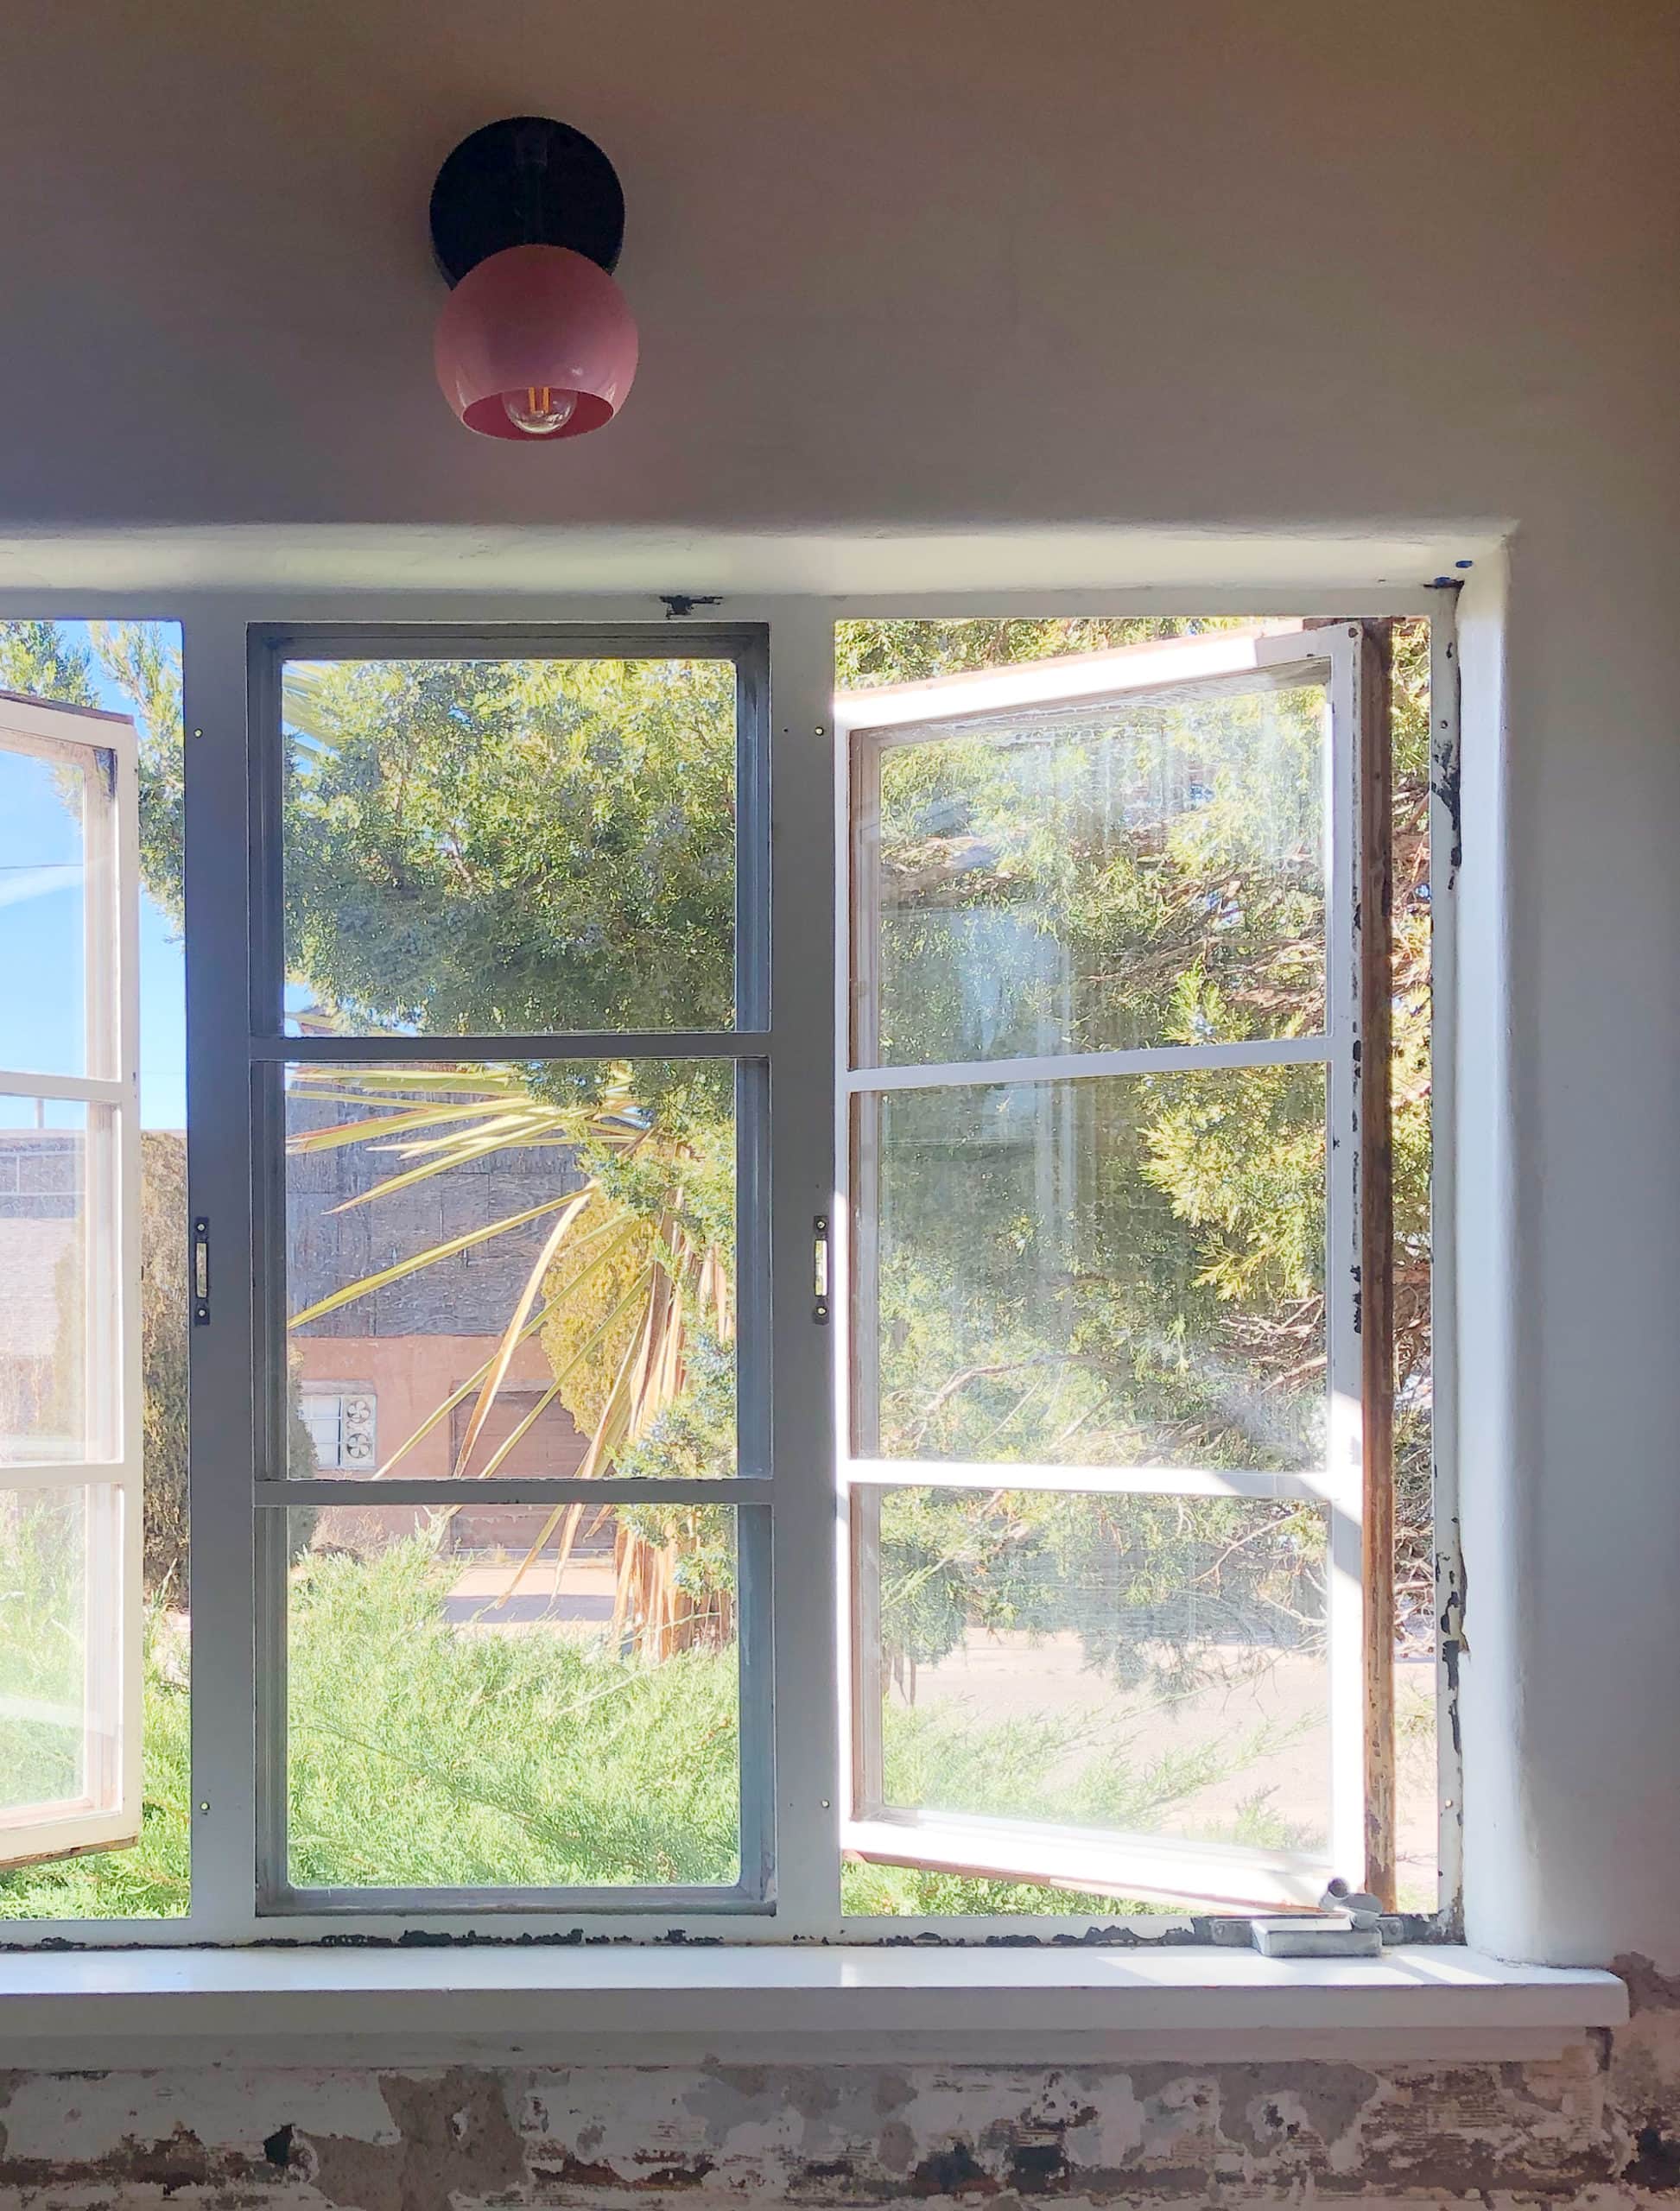
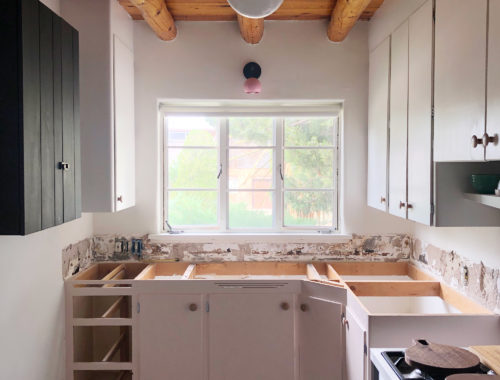
Not bad, right?? I’m really blown away by how much more important this window is now that it’s black instead of white. Windows in Pueblo Revival houses typically don’t have casing, so creating some definition by giving the window itself some contrast makes a massive difference. I’m just in love with the outcome, and I really want to paint the rest of the windows in the house black, too—inside and out.
Next up, adding additional cabinetry where the refrigerator used to be! In the mean time, if you need to get caught up on the kitchen plans and progress…
Kitchen recap:
✚ It’s time to meet the kitchen!
✚ Kitchen planning!
✚ Kitchen cabinets: Prep + painting.
✚ Painting and stenciling the kitchen floor.
✚ Kitchen countertop demolition.
26 Comments
Well done, Anna! This looks beautiful.
We are in the process of repainting the interiors of our steel casement windows in our 1930 Tudor-ish house in Detroit and the steps you outlined are tedious but have so far been worthwhile. We do have extensive rust and degradation on some of the window frames which means we’ll need to get those rebuilt someday, but this is very motivating for getting on with painting the interior — black, of course — and reglazing where possible.
So nice to have you blogging again!
Oh boy, are they diamond-shaped panes?? I love steel casements in Tudors, but I can’t imagine how tedious they must be to restore.
Brilliant job Anna. By the way. Every time I commence another wooden 1960s window in my house (a two week
per window job) I think of reading about your painstaking restoration of wooden windows of years ago. It reminds me to have patience.
That window looks great. White is simple and clean, but sometimes you need a bit of definition! Like you, I love Rustoleum, it’s great paint and lasts for years and years. And black Rustoleum is freakin’ MAGIC. I have cans in gloss, satin and flat, and each gets regular use. A lot of people avoid oil-based paint because it’s more trouble to clean up, but it’s really not that bad once you have a process. My dad taught us to first wipe most of the paint off the brush with a paper towel, then slosh the brush in a glass jar of paint thinner until it’s soaked and most of the paint is released, blot the brush on the other half of paper towel, then use dish washing liquid to clean off the brush. Easy-peasy!
(Is now when I admit I use cheap chip brushes with oil paint so I can throw them away instead of having to clean them…?)
Awwwww! It’s okay, to each her own!
Looks great Anna! I also love Rustoleum paints. I’ve used this brand for several projects and it is really durable. It’ll take a lot of time and work to do all of your windows but the result will be well worth it!
Wow! I love how it pops now!
Looks amazing! I literally, like 5 minutes ago, just finished repainting my interior-exterior door knob with rustoleum. I used the automotive primer and then a satin black. You should get sponsored by rustoleum because I never would have attempted it without seeing your posts over the years. I planned this project before seeing today’s post and just went for it! Question, do you think that this would work on 80s era sliding windows? My windows are 80s beige and they make me sad. I live in a condo, so I can’t replace them but the interior is all mine.
Aimee, what are your windows made of? And are you able to remove them?
Hi! They can’t be removed, but I think that they’re metal. It’s the style with a big center single pane window in the middle and two sliders – one on each side.
I can’t say with certainty, but I’m guessing they’re aluminum. Take a look at this post I wrote about painting aluminum storm windows! Obviously you’d have to do it in place and tape off/paper the glass and the surrounding areas, but the prep and product considerations would be the same.
https://doorsixteen.com/2014/05/05/painting-aluminum-storm-windows/
did I say how happy I was you were blogging again? yes, I did and it bears repeating. yay! looks beautiful. casements are my fave.
Thank you so much, Maria—I’m happy to be back at it, too. 🙂
The windows are a real feature now, and must look especially amazing with the painted floor!
That looks fabulous.
I think I have mentioned before that my mom grew up in New Mexico and so I grew up always going to my grandparents’ there. They also had these steel casement windows in their kitchen and dining room, and that was so different to me, it was definitely not something we had in Oklahoma. So seeing steel casement windows IMMEDIATELY puts me in mind of being there with them. ❤️❤️ They have been gone for a long time now, so thank you for evoking those happy memories too !!
They’re so uncommon on the east coast other than in old warehouses/industrial buildings! I really love them.
Gorgeous! Maybe those 90gazillion rivets and adhesive explain why other windows are gone – the owners gave up trying to remove them and decided to just replace the windows instead?
I don’t think so—in the last year alone I’ve seen at least three houses in the neighborhood stripped of their original steel casements as part of “renovations.” None had storm windows.
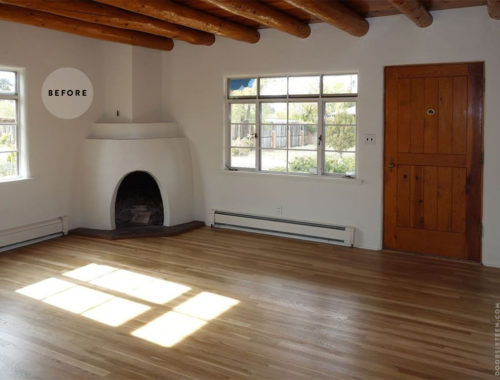
Whew – SUCH a difference! I keep scrolling between before and after, before and after. So satisfying. 🙂
Crazy how much it changes the room! Well done!
That looks great!!!
What’s the bug situation in NM? Maybe you don’t need storm windows?
Mommy, they’re glass storm windows that are attached to the windows themselves, NOT screens! We definitely do not need them or want them (this type of window isn’t meant to have storms)—we’d get much better protection from drafts from being able to properly maintain the glazing and by adding a strip of insulating tape where the planes of steel meet. The problem is that the storm windows are riveted (and glued) directly to the steel sash of each individual section of window, so I’m probably going to have to use an angle grinder to remove them…then patch all 90,000,000,000 holes left in the windows with Bondo.
By the way, the screens (which we definitely need—this is the land of black widow spiders and giant centipedes) clip in place on the inside of the window, otherwise they’d move along with the window when you open it…which kind of defeats the purpose of a screen. 😉 Fortunately, all of the original screens are here, and they work perfectly. We only put them on the windows we tend to open.
Just checked in for the first time in ages, and I happily see there’s activity again! Life goes on and I’m glad you’re in for sharing your adventures along the way. Best to you! xoxoxo
Wow. Just wow – as someone who has a house full of steel windows which I also love and who is currently working on just one set you give me hope. I may send you photos via IG!!